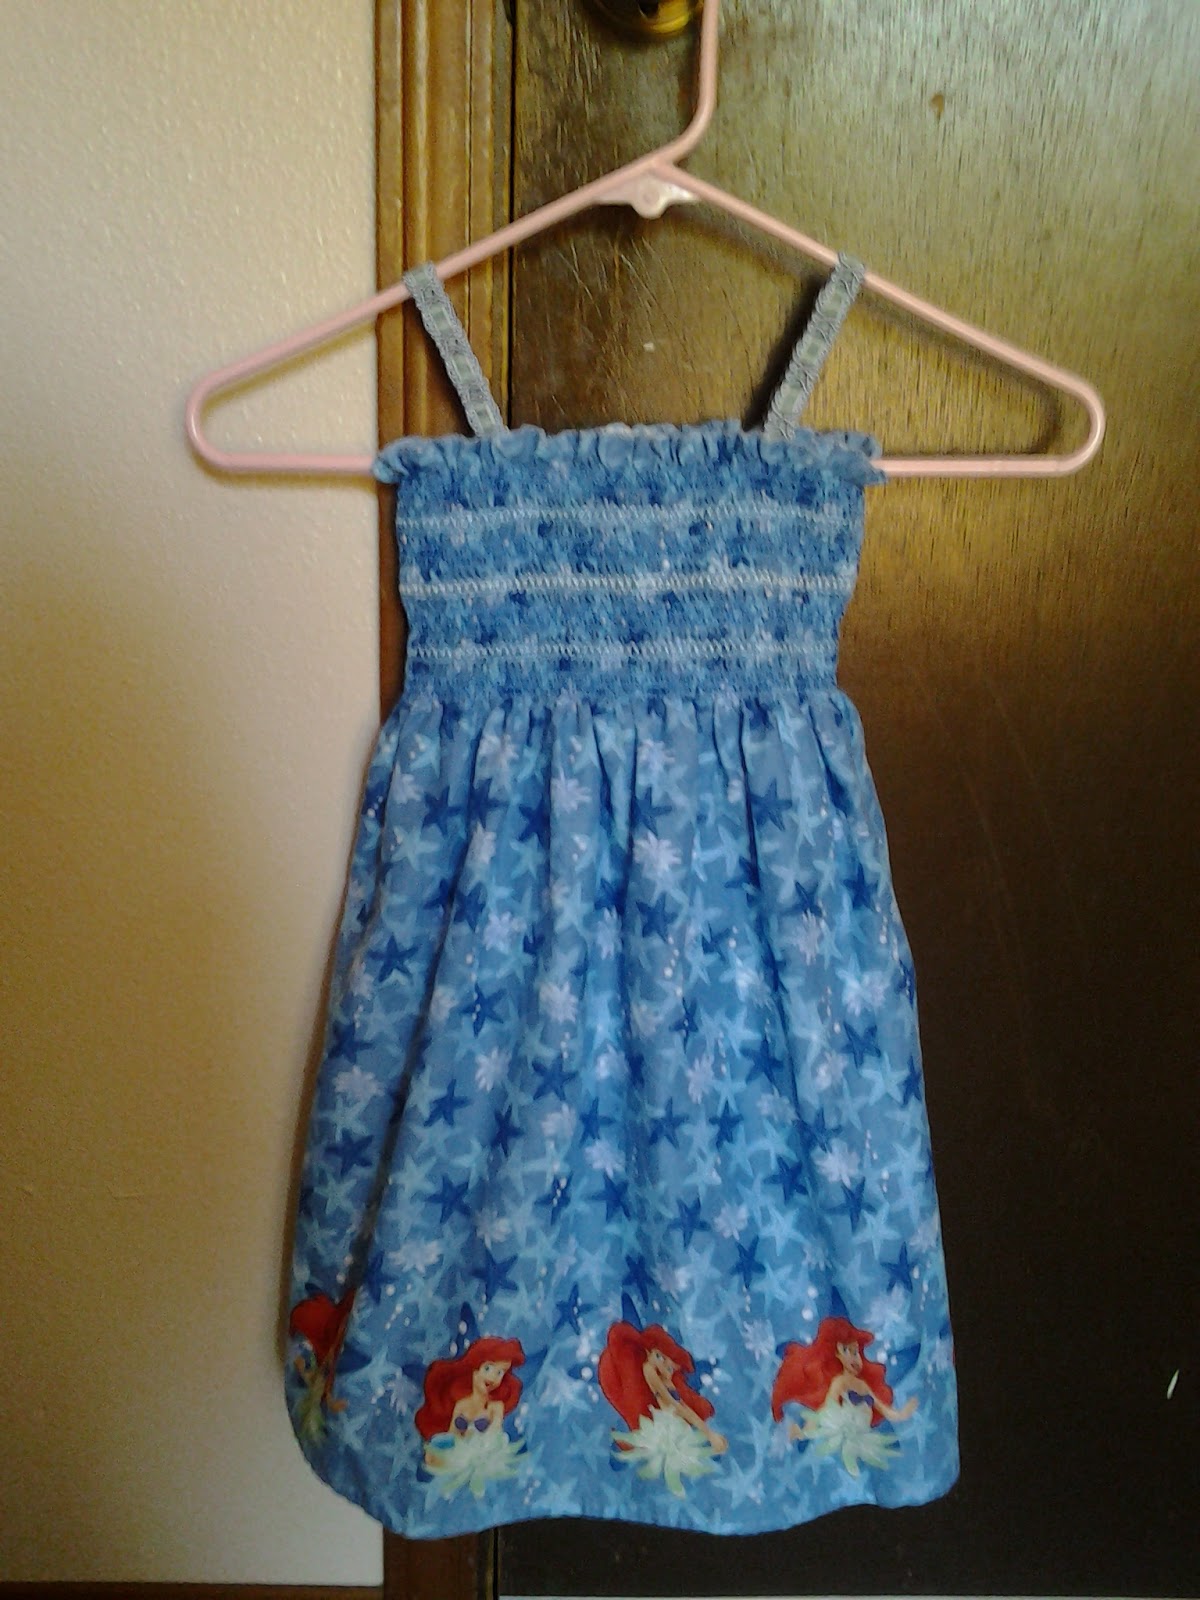
As I said, I want to share my sewing adventures here, whether big or small, crazy or sane. :) Yesterday, I started working on my niece's dress that she is going to wear for her birthday party next month. As I mentioned in my last post, she is in love with Ariel (The Little Mermaid)! So my sister-in-law is throwing her an Ariel themed birthday party. Here is an account of yesterday's endeavors.
I have had the material for the dress since the beginning of this month, when Jo-Ann's was having a wonderful sale. (I will not admit to how much I spent that day....but I did save a lot!) Now this material is definitely for beginners. It is the pre-shirred fabric from Jo-Ann's, so honestly you could sew up the back seam and attach ribbons for straps and have a dress in no time. But I wanted to put more into it, so I also purchased some white muslin to make a lining. The first thing I did yesterday was cut the material down to size. I had already measured my niece the day before, so I was good to go. It is really easy to cut the pre-shirred fabric down, as I learned from the lovely lady at Jo-Ann's. Once you cut through the pre-shirred portion, all you have to do is tear the rest of the material and it follows the grain line leaving you with a perfect cut! Unfortunately, I had to measure the muslin and use a ruler and pencil to make certain that I cut straight. To figure out how long I should make it, I measured the length and width of the dress material from the longest portion to the start of the pre-shirred bodice. I cut it one inch shorter than the dress material because I wanted to ensure the lining would not peak out under the dress.
After the cutting, it was time to hem the lining. So I needed my ruler and pin cushion.
 |
| Pinning the Lining to Hem |
Next, I measured across to make sure I had hemmed the lining evenly. Thankful, my precision paid off!
After the pinning, it was time to sew the hem in place. Just had to watch out for the pins as I went. :)
I was very surprised at how straight my sewing turned out! Much improvement!
Hemming the garment seemed like a breeze compared to what lay ahead.....creating gathers so that it would match the gathers in the dress material. I pulled out my handy Sewing guides and read through the steps. I was a bit confused at first but finally, I figured it out.
 |
| My Survival Guide |
I loosened the thread tension and increased the stitch length on the machine and I stitched two different rows across the top of the lining: the first row 5/8 of an inch from the raw edge and the second in the seam allowance, 1/4 of an inch above the first line. Like how I threw out those sewing terms??? Seam allowances and raw edges! Just some of the new vocabulary I am picking up. :)
Now when sewing gathering stitches, remember not to reinforce the stitches at the beginning or end of the row as you would with a normal stitch. My survival guide did not exactly say this, but since you will be pulling the bobbin thread to create the gathers, it only makes sense. One thing the guide did suggest was to use a different color of thread for the bobbin so it will make it easier to see which thread is which. This was great advice!
So starting at one end and working towards the middle, then doing the same at the other end, I pulled the bobbin threads and moved the material together to form gathers. Before finishing, I laid the lining on top of the dress material to see how much gathering I needed to do to match. Once I had the gathers pretty evenly dispersed, I secured them with pins.
Finally I went back to the sewing machine and sewed the gathers in place right below the first set of loose gathering stitches made. Then I sat down and used my seam ripper to pull out the gathering stitches. I think it turned out pretty good for my first attempt at gathering! :)
Nearing the end of my work for the day, it was time to attach the lining to the dress material. So first I pinned the lining to the wrong side of the dress material, making sure I pinned it just above the first seam line of the pre-sheered bodice.
Once it was successfully pinned, I sewed the two pieces together, with the right side of the dress material facing up, so I could hide the stitches in the first seam line of the bodice. It turned out pretty good.
 |
| Lining Secured! |
 |
| A glimpse of it's future... |
All in all, I felt it was a successful day for a newbie sewer like myself. Next, my job will be to find an invisible zipper that matches the color of the dress and learn how to insert it. And I thought gathers would be difficult...... Stay tuned!