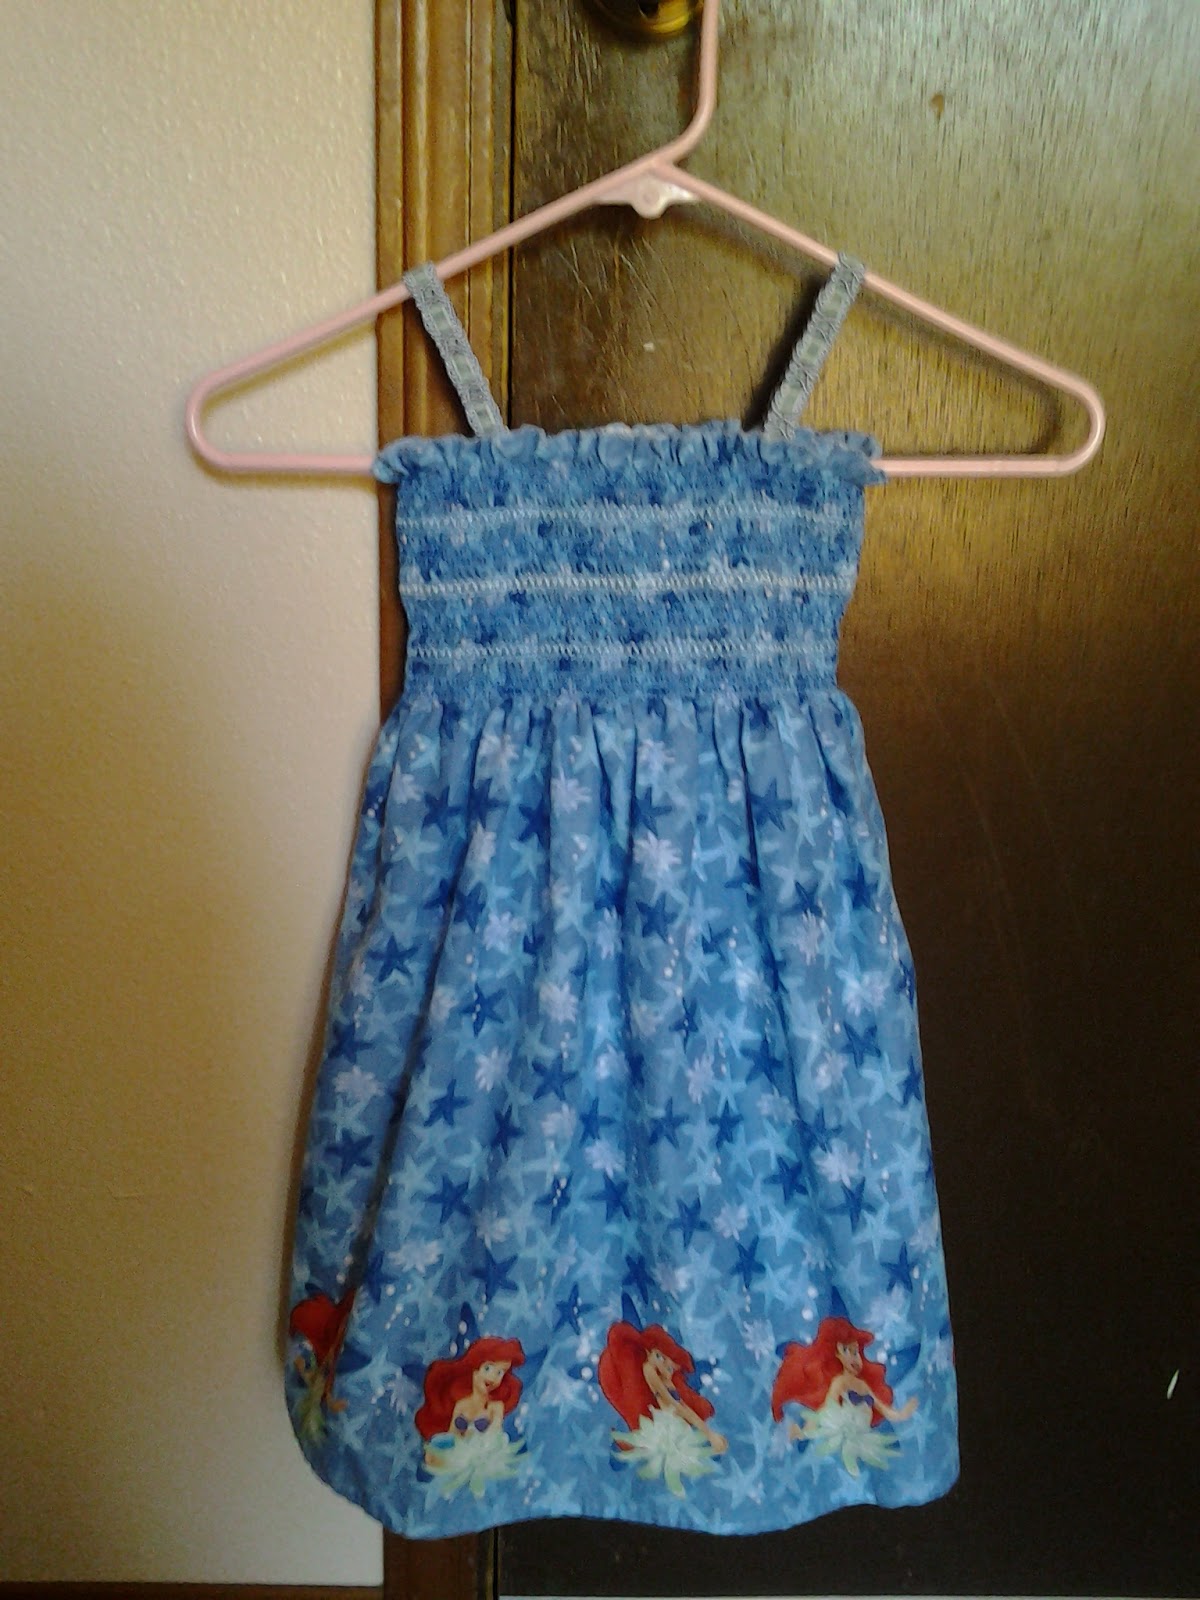
I must apologize for my delay in returning to the Ariel dress. First, I successfully finished it, invisible zipper and all. Second, my niece loved it and she looked adorable in it at her second birthday party. In the first segment I wrote on the Ariel dress, I showed how I made a lining for the dress and how I attached to the dress. In this post I will share with you the completion of the dress, which included installing the invisible zipper, sewing up the back seam, adding a hook and eye clasp, and attaching the ribbon straps. I did not finish this all at once. I tackled the invisible zipper on a Saturday, along with sewing up the back seam. Then the next Sunday, I attached the ribbon straps. However, I had to reposition the straps after trying the dress on my niece (the straps were spaced too far apart that they fell off her shoulders). I added the clasp and eye hook when I repositioned the straps.
So installing the zipper...... On the afternoon I finally attempted to install the invisible zipper
onto the Ariel dress, I realized there was no way I
could use the zipper foot I had bought at Jo-Ann's. For some reason, I
failed to notice that it was a
Vertical zipper foot (this
was written clearly across the top). I still really do not understand
what a vertical zipper foot is and if I can even use it on my machine
but that is for another day. After doing some online searching about
zipper foots and installing zippers, I came up with this bright idea to
use a regular foot. Some people online said that it was possible to do. Well after breaking my first needle (which thankful I had spares), I successful got the invisible zipper installed.
 |
| Pinning the first strip of the zipper. |
 |
| Beginning my attempt to attach an invisible zipper with a regular foot...before the n | eedle broke. |
 |
| One side finished...Can you tell that I sewed as close to the teeth as I could? |
 |
| Complete! |
 |
| Practically invisible. :) |
 |
| Sewing up the back seam. |
 |
| Back seam completed! |
Here are what the straps looked like after the first attempt.
Here is what they looked like after I repositioned them. On a side note, I do not recommend using this type of ribbon. It unraveled horribly and I really had to reinforce the stitches in order to keep them from continuing to unravel. I recommend plain ribbon or material. Still they were adorable.
Here is the clasp!
Here is the finished product on the birthday girl!
This was a fun project for me as a beginner. I learned some great skills, such as hemming, gather, and inserting an invisible zipper. Stay posted as I begin to share more about the projects I have completed since this.


No comments:
Post a Comment